


Diving into the world of graphic editing can be overwhelming with its series of sophisticated tools and intricate nuances, especially when you need to remove the background of an image. That's where GIMP (GNU Image Manipulation Program) comes to the rescue. GIMP, a freely distributed program, is known for its versatile features that make image manipulation easier, even for novices. In this article, we help you navigate this free software to effortlessly execute a task that often seems daunting – eradicating the background from an image. We'll explore multiple methods — using layer masks, fuzzy select tool, and the scissor select tool— along with effective troubleshooting tips to make the entirety of the process seem like a breeze!
- 1. Understanding the Basics of GIMP Interface
- 2. Method 1: Removing Image Background Using Layer Masks
- 3. Method 2: Utilizing the Fuzzy Select Tool for Background Erasure
1. Understanding the Basics of GIMP Interface
The GNU Image Manipulation Program, more commonly known as GIMP, is a popular open-source graphics editor frequently used for tasks such as photo retouching, image composition, and image authoring. Before we dive into the methods for removing image backgrounds, it’s crucial to understand the basics of the GIMP interface.
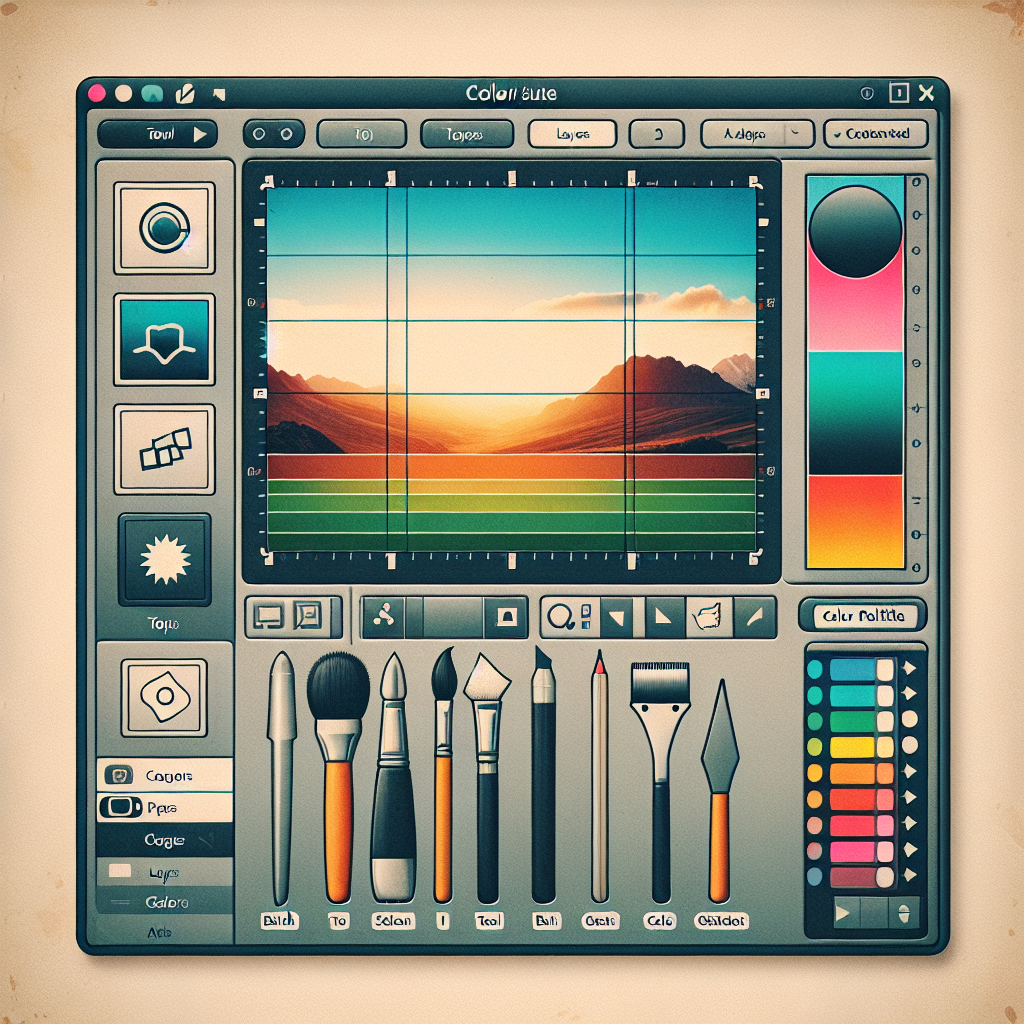
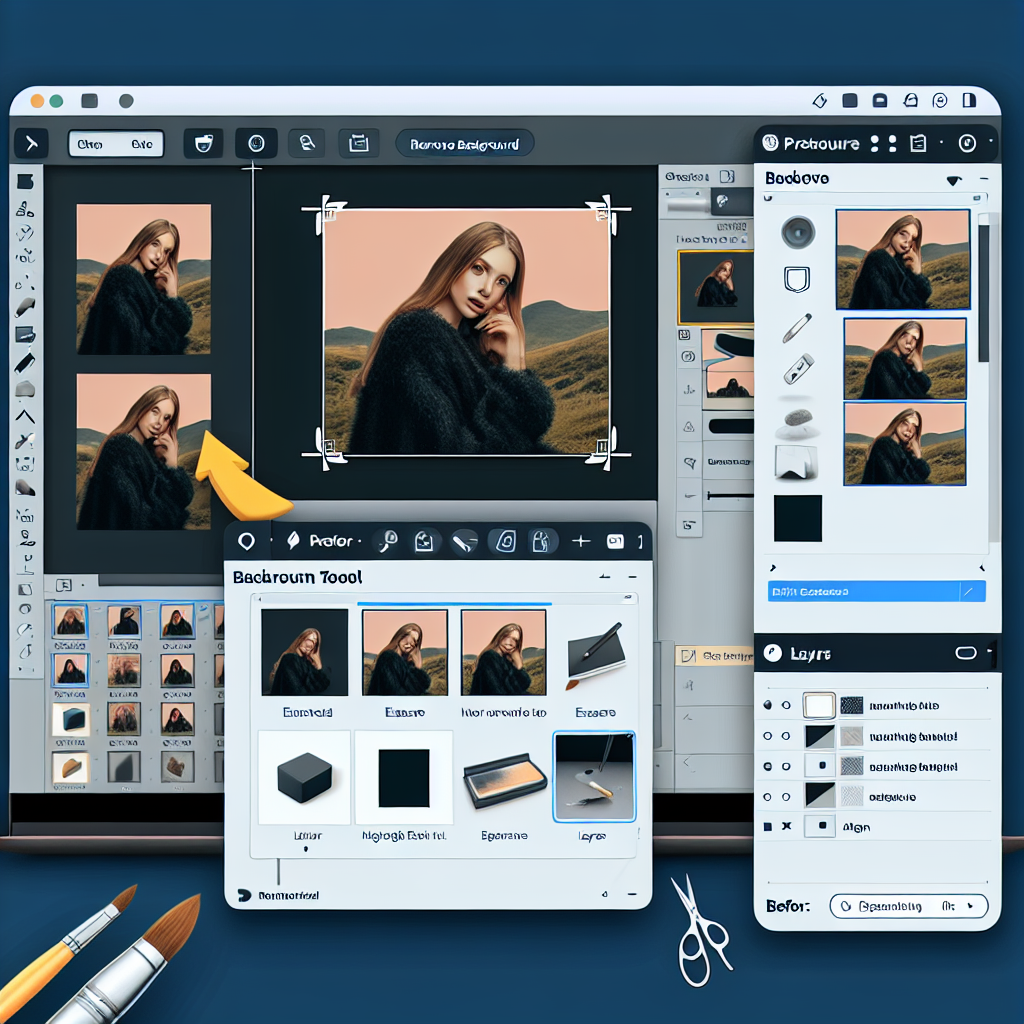
The primary elements of the GIMP interface are its toolbox and docks. Located on the left of the workspace, the toolbox houses an array of common tools such as the move tool, selection tools, color picking tool, fill tool, and many more. You can modify each tool's properties in the tool options dock just right below the toolbox.
On the right side of the workspace, you will notice two docks: the Layers, Channels, Paths, Undo History dock; and the Brushes, Patterns, Gradients dock. The Layers dock is significant when working with complex images; it allows you to manipulate different parts of an image independently.
On top of the workspace, the menu bar provides a range of options and functionalities. From creating new files, applying filters, adjusting colors and brightness, to exporting edited images, a variety of functions can be accessed here.
At the very bottom is the status bar which provides information about the current image and the tasks being performed. It also has a command line section for entering coordinates for a more precise operation.
The beautiful thing about GIMP is its customizable interface. You can modify your workspace according to your taste or project requirements. By dragging any dock, you can rip it off and have it floating or embed it back again.
To ease your experience with GIMP, it is important to familiarize yourself with the main interface elements as well as how to navigate through them. Once these basics are clear, creating and manipulating your digital artwork becomes much easier and efficient.
2. Method 1: Removing Image Background Using Layer Masks
Using Layer Masks is a powerful and flexible method of achieving precise results when removing an image background in GIMP. It is a method that gives users precise control over the various aspects of their image. Here's how:
1. Open your image in GIMP: Navigate to File > Open, then select your image from your computer’s file system. The image will open in a new tab.
2. Add Alpha Channel: This step is crucial as it adds transparency to your image. To do this, right-click your image layer in the Layers panel and click “Add Alpha Channel.”
3. Create a new layer: This layer serves as your new background. Go to "Layer > New Layer." Select white or any other color you want to replace the image's original background.
4. Reorder the layers: Drag your original image layer to the top in the Layers panel.
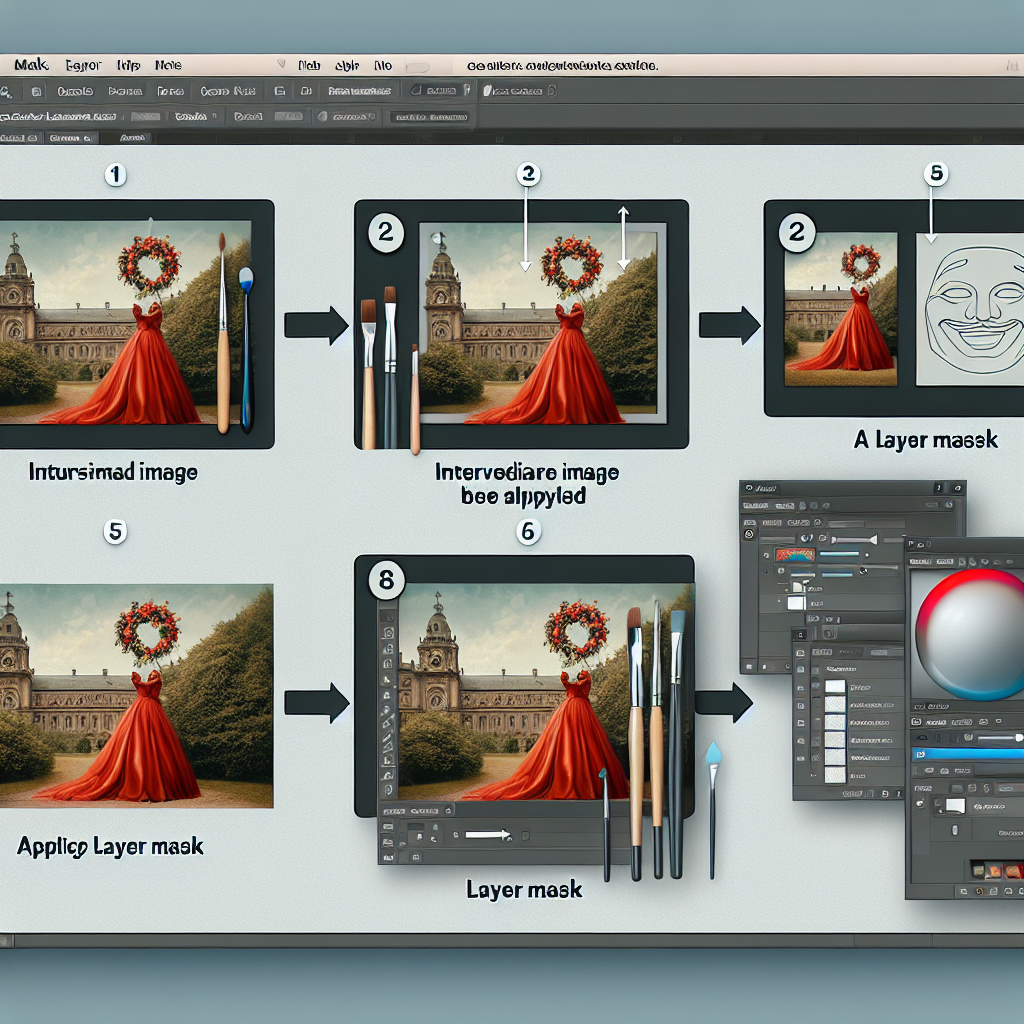
5. Add Layer Mask: Right-click the image layer in the Layers panel, then select “Add Layer Mask.” In the dialog that pops up, choose White (full opacity) and click Add.
6. Select the part of the image you'd like to keep: Use any selection tool suitable for your image. There are various selection tools like the Lasso tool, the Magic Wand, or the Quick Mask.
7. Invert the selection: Navigate to Select > Invert. This will let the program know that you want to remove the background and not the selected subject.
8. Fill the selection with black color: Ensure your foreground color is set to black, then go to Edit > Fill with FG color. The selected part of the image will turn pink (indicating the added layer mask), and the unselected part will disappear – which means the background is removed.
9. Deselect the selection: Navigate to Select > None. Now you have successfully removed the background from the image using layer masks in GIMP.
10. Save your image: To maintain the transparency of your background, you need to save your image in a format that supports transparency like PNG.
Don't worry if you make a mistake during these steps. The beauty of using layer masks is that you can always paint over the mask using white color to reveal areas you want to keep, or paint with black to conceal parts you want to remove. It’s not permanent and can be tweaked as much as you like.
This method requires practice but offers greater control and precision, making it an excellent choice for complex images. Keep practicing with different images to get a better understanding of how to work with layer masks in GIMP effectively.
3. Method 2: Utilizing the Fuzzy Select Tool for Background Erasure
The Fuzzy Select Tool, often referred to as the Magic Wand, is another effective method for background removal in GIMP. This tool works by selecting areas of an image based on color and brightness similarities, which comes in handy when the object you wish to keep is significantly distinct from the background.
Here's a step-by-step guide on how to use the Fuzzy Select Tool:
1. **Open your image in GIMP:** Navigate to the File menu, choose Open, find your file and click Open again.
2. **Select the Fuzzy Select Tool:** Proceed to the Toolbox and select the Fuzzy Select tool. You can also use the keyboard shortcut "U" to activate it.
3. **Adjust the Tool settings:** In the Tool Options dialogue, adjust the Threshold parameter. A lower value selects colors very similar to the ones you click on, while a higher value includes more shades. Start with a lower threshold and gradually increase it; this ensures that the tool doesn't pick up colors from the object you wish to maintain.
4. **Select the background:** Click on the area you want to erase, and it’ll automatically select all adjacent areas with similar colors. In case it doesn't select everything on the first go, hold down the Shift key and click on unselected areas.
5. **Erase the background:** Press the Delete key to erase the selected background. For Mac users, you may need to choose Edit -> Clear if the Delete key doesn't work.
6. **Smoothen the edges:** If the edges of your object are too sharp, go to Select -> Feather. Then, set the radii that suit your image and click OK to get a smoother selection.
7. **Finalize:** Once you're satisfied with the result, go to Select -> None to deactivate the selection. Save your file by going to File -> Export As, rename your file, select a format, and click Export.
Now, you've successfully removed your image background using the Fuzzy Select Tool. This method works best when there's a clear contrast between the background and the main object. Remember, practice makes perfect, so don't get discouraged if your first few tries don't turn out perfect. With a little time and patience, you'll be pro in no time.


+ There are no comments
Add yours