


Mastering the art of photo editing has never been more achievable thanks to accessible software such as GIMP. As a free and open-source image editor, GIMP provides comprehensive tools that make even complex tasks, such as background removal, within reach of everyone. However, without a step-by-step guide, trying to navigate these tools can be a daunting process. This article aims to provide a thorough tutorial on how to remove an image background using GIMP. From understanding the basics of the GIMP interface to mastering advanced techniques such as the Layer Mask for professional background removal, this article is designed to equip you with the knowledge and skills to transform your images. We will gradually guide you through the process, showing you how to apply the Fuzzy Select tool and Paths tool for precise background deletion. So, prepare your images, open your GIMP software, and let's dive into the world of photo editing.
- 1. Understanding the Basics of GIMP Interface
- 2. Introduction to Image Background Removal Techniques in GIMP
- 3. Step-by-Step Guide to Using the Fuzzy Select Tool for Background Removal
1. Understanding the Basics of GIMP Interface
Before diving into the specifics of how to remove an image background in GIMP (GNU Image Manipulation Program), it's essential to understand the basics of its interface. GIMP is a powerful, free, and open-source graphics editor, widely recognized as a cost-less rival to Adobe Photoshop. The complexity of the tool can appear daunting initially, but once you become familiar with its interface, you will become more comfortable using it for tasks like removing image backgrounds.
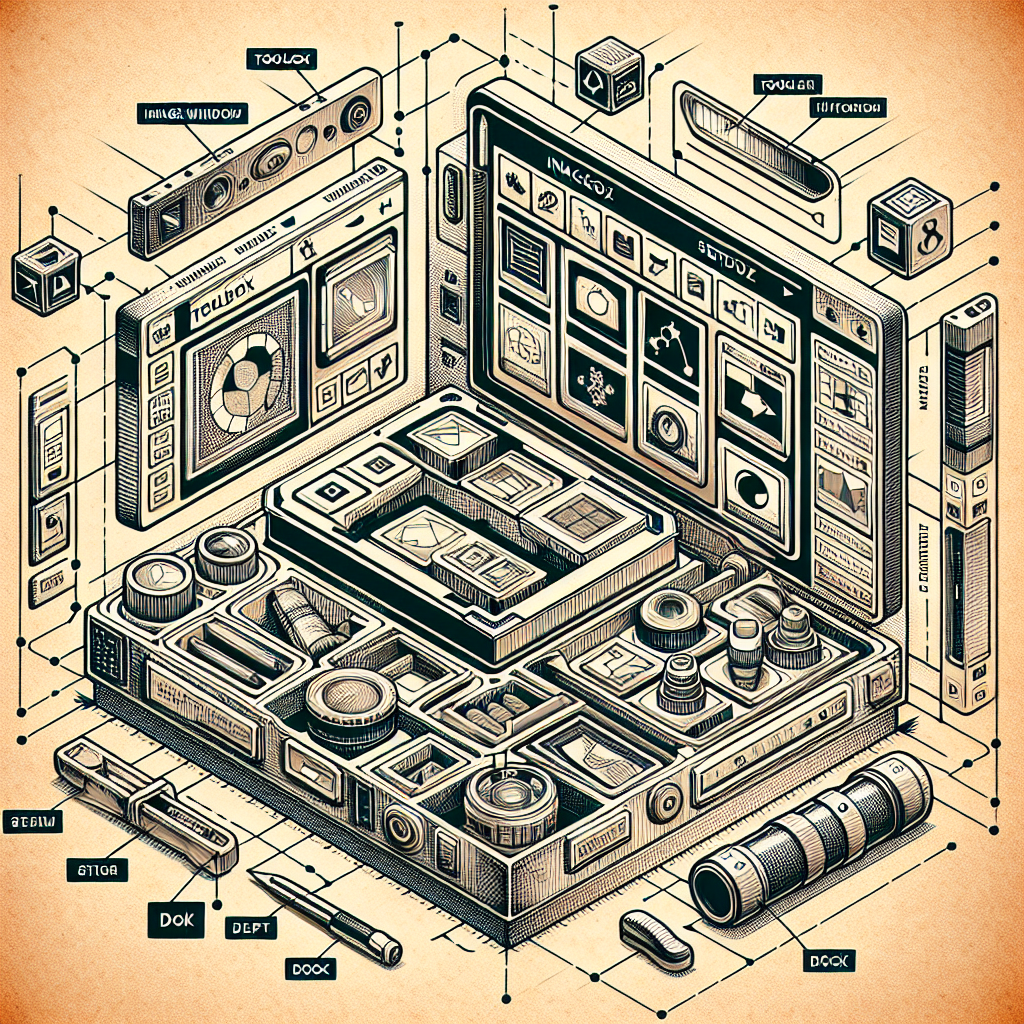
The GIMP interface consists of three main parts: the Toolbox, the Image Window, and the Dock.
1. Toolbox: This is found on the left side of the screen. The toolbox is the part of the interface that houses all of GIMP's tools, from painting tools to selection and transformation tools. Some of the most important tools for background removal include the Fuzzy Select Tool, Free Select Tool, and Scissors Select Tool, which allow for precise and varied selection capabilities.
2. Image Window: Located in the center of the interface, the Image Window is the canvas where you work on your image. Navigation in the Image Window is made easier by the ‘Navigator’ tab, which provides a thumbnail view of the image.
3. Dock: On the right side, there is the dock which houses several dialogue windows such as layers, brushes, patterns, gradients, and more. The most important dialog in the dock for background removal tasks is the Layers Dialog. In GIMP, every image is composed of layers, which can be individually edited. Understanding how to navigate and manipulate these layers is crucial for successfully removing or altering an image's background.
Notably, the Menu Bar positioned at the top provides access to all of GIMP's capabilities and settings. It contains pull-down menus like 'File', 'Edit', 'Select', 'View', 'Image', 'Layer', 'Colors', 'Tools', 'Filters', 'Windows', and 'Help'.
If you ever feel overwhelmed by GIMP's interface, remember: everything has a purpose, and what you do not need now may come in handy later. As we proceed to specific steps about removing image backgrounds, we will explore some parts of this interface more thoroughly.
2. Introduction to Image Background Removal Techniques in GIMP
GIMP, short for GNU Image Manipulation Program, is a powerful, free, and open-source graphics editor often used as a free alternative to Adobe Photoshop. It's packed with a vast array of tools that can help you edit your images to perfection. One of the most sought-after editing techniques in GIMP is removing the image background.
Removing an image background can help in various applications such as graphic design, product photography, web design, and more. This can be used to isolate specific objects, remove distracting elements, or even superimpose a different backdrop. In other words, it's an essential skill for any digital artist or photographer.
Despite the importance of this technique, it can seem daunting for those unfamiliar with GIMP's interface and tools. However, once learned, it's a relatively straightforward process. In this article, we will walk you through several methods of removing the background of an image using GIMP, ranging from using the basic 'Fuzzy Select Tool' to the slightly more complex 'Path Tool'. Each of these techniques has its unique strengths and applications and can be used depending on the complexity of the image.
Throughout this guide, we'll delve into each technique in detail, offering step-by-step instructions and useful tips to help you become proficient at removing image backgrounds with GIMP. Whether you're a novice GIMP user, or you want to refine your existing skills, there's something to learn for everyone.
3. Step-by-Step Guide to Using the Fuzzy Select Tool for Background Removal

The Fuzzy Select tool, also known as the Magic Wand, is a very effective way to remove the background from an image in GIMP. It is ideal for images with a uniform background or ones with a clear distinction between the foreground and background. Here is a step-by-step guide on how to use this tool:
Step 1: Open the Image in GIMP
Begin by launching GIMP on your device. Once it's open, move to the "File" option, click on it, then select "Open" to choose the image you want to edit.
Step 2: Duplicate the Layer
In GIMP, it's always wise to duplicate your layer before making significant changes. To accomplish this, go to the 'Layer' tab and click on 'Duplicate Layer.' This allows you to have a backup copy of your original image.
Step 3: Select the Fuzzy Select Tool
Navigate to the toolbox at the left side and click on the 'Fuzzy Select Tool' or press 'U' on your keyboard to use it. This tool lets you select an area with color similarities.
Step 4: Click on the Background
After activating the Fuzzy Select tool, click on the part of the image that you want to remove. It will outline that area with a moving dashed line.
Step 5: Adjust the Threshold
If the tool selects too much or too little of the image, adjust the 'Threshold' slider in the Tool Options. A lower threshold value will select colors very similar to the point you clicked. A higher value will select a wider range of colors.
Step 6: Hit the Delete Button
Once you have selected the precise area, simply press the 'Delete' key on your keyboard. This action will erase the selected area. If the image has various colors, repeat the process until all the background is removed.
Step 7: Add a New Background or Make it Transparent
If you want to have a transparent background, select 'Layer,' then 'Transparency,' followed by 'Add Alpha Channel.' Then, hit 'Delete' again. To insert a new background, open the new background as a layer, move it below the foreground layer, and adjust as necessary.
Step 8: Save Your Work
After editing, always remember to save your work. Go to 'File,' then click on 'Export As.' You can choose the desired format for your image.
Remember, practice makes perfect. The more you use these tools, the better you will become at removing and replacing image backgrounds using GIMP.


+ There are no comments
Add yours